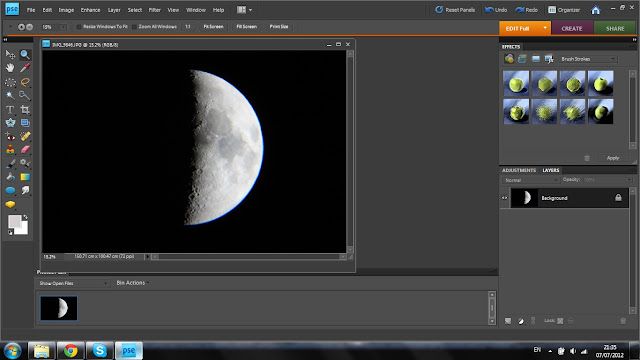
I thought I'd stick up a quick tutorial on getting rid of the annoyance that is chromatic aberration. CA is the name given to the fringe of colour that is sometimes visible around the highlighted areas of an image and it occurs when there is a failure of a lens to focus all colours to the same convergence point. It is often seen in astrophotography, especially with amateur telescopes. It's mildly annoying, but very easy to fix!
First, open your image in Photoshop. I'm using Photoshop Elements 8.
Here you can clearly see the CA around the outer rim of the moon. Using my telescope, it's a blue colour, but it can vary from pink to green to blue.
To fix it, you want to create a new adjustment layer, adjusting hue/saturation.
Drop down the 'master' menu and select the colour you want to remove. I select blue.
Next, click the eyedropper icon and click on the blue area of your image, sampling the colour you want to remove.
Finally, drag the saturation down to zero. This removes the colour from the CA, making it almost invisible.
Before you save, be sure the merge the layers!
And that's it! Very simple!


No comments:
Post a Comment